How to Build a Better Sandcastle, and Leave the Beach Better After
Building a sandcastle is one of the oldest and best beach activities there is. It costs nothing, works for every age and can absorb an entire afternoon. With a few simple techniques borrowed from sand sculptors, your family can build something far more impressive than a bucket-shaped lump. Just as important is knowing how to leave the beach safe for people and wildlife afterward.
Start With the Right Spot
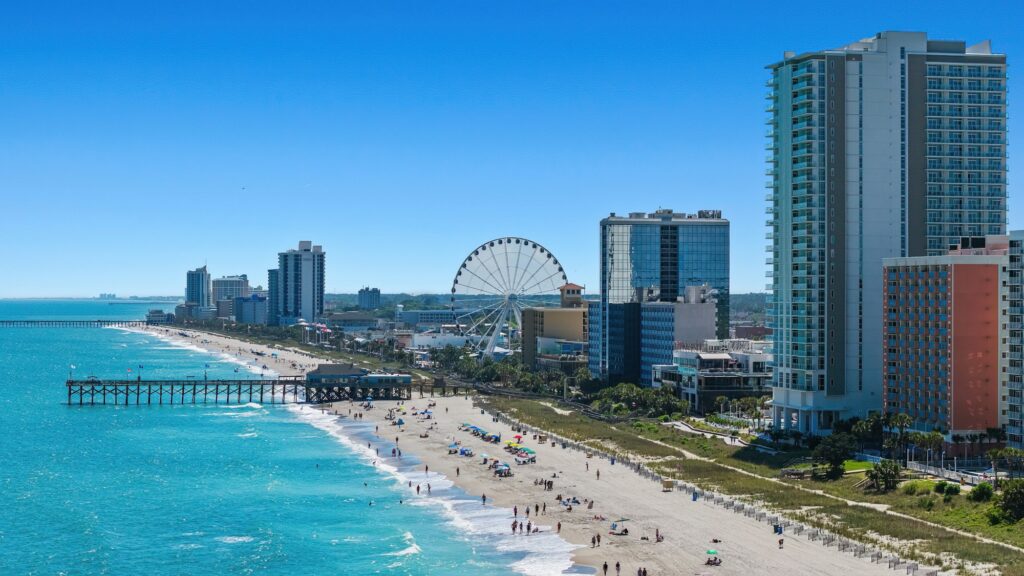
Good sandcastle sand is fine and slightly damp. On the Grand Strand, the area just above the waterline, where sand is wet but not soupy, is usually ideal. Too close to the water and the tide will claim your work; too far up and the sand will be dry and crumbly. Check whether the tide is coming in or going out before you start. A rising tide gives you less time.
The Secret Is Water
Sand sticks together because of water between the grains. The more thoroughly you mix sand and water, the stronger your structure. Sand sculptors use a technique called pounding up:
- Fill a bottomless form, such as a bucket with the bottom cut out or a section of plastic pipe, with sand and water in layers.
- Pack each layer firmly with your hands or a flat tool.
- Remove the form carefully, leaving a solid tower of packed sand.
Even without a form, you can make a sturdy base by piling sand, soaking it and patting it down repeatedly. Start with a wide base and build up; a pyramid shape is stronger than a tall, skinny tower.
Carving and Details
Carve from the top down so falling sand does not ruin finished work. Simple tools from home work well:
- A plastic knife or spatula for walls and steps.
- A drinking straw for blowing away loose sand.
- A paintbrush for smoothing surfaces.
- A melon baller or spoon for windows and arches.
Drip castles are a fun variation for younger kids: take a handful of very wet sand and let it dribble through your fingers to form tall, spiky towers.
Clean Up When You Are Done
Sandcastles and holes left on the beach can be hazards, especially at night. Before you leave:
- Knock down your structures and smooth the sand.
- Fill in any holes, no matter how small. Holes can injure beach walkers and trap sea turtles and hatchlings during nesting season.
- Take home all toys, buckets and trash. Many Grand Strand towns require all beach equipment to be removed each night.
A Word on Deep Holes
Digging deep holes is tempting, especially for kids, but deep holes in sand can collapse suddenly and bury a person. Keep holes shallow, never let children dig tunnels or climb into deep holes, and always supervise digging. Some towns have rules about hole depth on the beach, so check local regulations on your town’s official website.
A great sandcastle is temporary by nature. Build it, admire it, photograph it and then return the beach to flat sand so the next family, and the next nesting turtle, finds it ready.
A Step-by-Step Build for Your First Real Sandcastle
If you have never tried pounding up sand before, a simple plan helps the whole family work together. This approach takes an afternoon and produces something sturdy enough to carve.
- Pick your site and check the tide. Choose damp sand above the reach of the incoming waves, and leave yourself room to work on all sides.
- Set up a water supply. Fill a couple of large buckets with seawater and keep them close. You will use far more water than you expect.
- Build a wide foundation. Pile sand into a broad mound, pour water over it and pat it flat. Repeat several times until the base is firm enough to stand on gently.
- Stack your forms. Set a bottomless bucket or pipe on the base, fill it in layers of sand and water, and pack each layer. Add a smaller form on top for a second tier.
- Release the forms. Lift each one slowly and straight up. If sand slumps, the mix was too dry; pack the next one wetter.
- Carve from the top down. Shape the peak first, then walls, windows, stairs and arches as you work toward the base.
- Finish and photograph. Brush surfaces smooth, blow out loose grains with a straw and take your pictures before the sun dries the edges.
Common Sandcastle Mistakes and How to Fix Them
- Using dry sand. Dry sand will not hold a shape. Add water until the mix holds together when squeezed.
- Building too tall too fast. A narrow tower on a small base tends to topple. Widen the base before you go higher.
- Carving from the bottom up. Sand falling from above will bury finished details. Always start at the top.
- Letting it dry out. On a sunny Grand Strand afternoon, sand dries quickly and begins to crumble. A light sprinkle of water from a spray bottle helps keep surfaces workable while you carve.
- Forgetting the tide. A rising tide can erase hours of work. If you are close to the water, build a small moat and wall on the ocean side, but expect the sea to win eventually.
Making It a Family Project
Sandcastles work best when everyone has a job. Younger children can haul water, decorate with shells that have no living animals inside and make drip towers around the edges. Older kids can pack forms and carve doors and windows. Adults can handle the heavy lifting and the tallest towers. Rotating jobs keeps everyone interested, and taking breaks in the shade keeps the project fun on hot days.
Some families make a game of it, choosing a theme such as a lighthouse, a pier or a tiny version of their beach rental. Others hold a friendly contest with silly categories like best moat or most creative window. Remember to keep everyone hydrated and to reapply sunscreen, since it is easy to lose track of time while building.
Questions Families Ask
What tools are worth bringing from home?
A few buckets, a small shovel, a spray bottle, a plastic knife, a paintbrush and a straw cover most needs. A bottomless bucket or short length of pipe makes the biggest difference.
Can we leave our castle up overnight?
Plan to knock it down and smooth the sand before you leave. Structures and holes can trip walkers in the dark and get in the way of nesting sea turtles and hatchlings.
How do we leave no trace?
Collect every toy, bucket and scrap of trash, fill in holes and flatten mounds. A quick walk around the site before you go is the easiest way to make sure nothing is left behind.